


Fabric is the biggest cost in almost every garment, and the moment that cost is decided is not when the fabric is bought. It is when somebody in the cutting room arranges the pattern pieces on it. Ask what is marker making in garment industry terms and the answer is that process: taking every pattern piece for every size in the order and fitting them onto the fabric width as tightly as the rules allow, so that when the stack is cut the least possible cloth ends up on the floor. This article explains what goes in and what comes out, walks through the process step by step, compares doing it by hand with doing it by computer, lists the constraints that make it difficult, and finishes with how it changes on a bag line.
What Is Marker Making in Garment Industry
Marker making is the planning task that comes after patterns are graded and before fabric is cut.
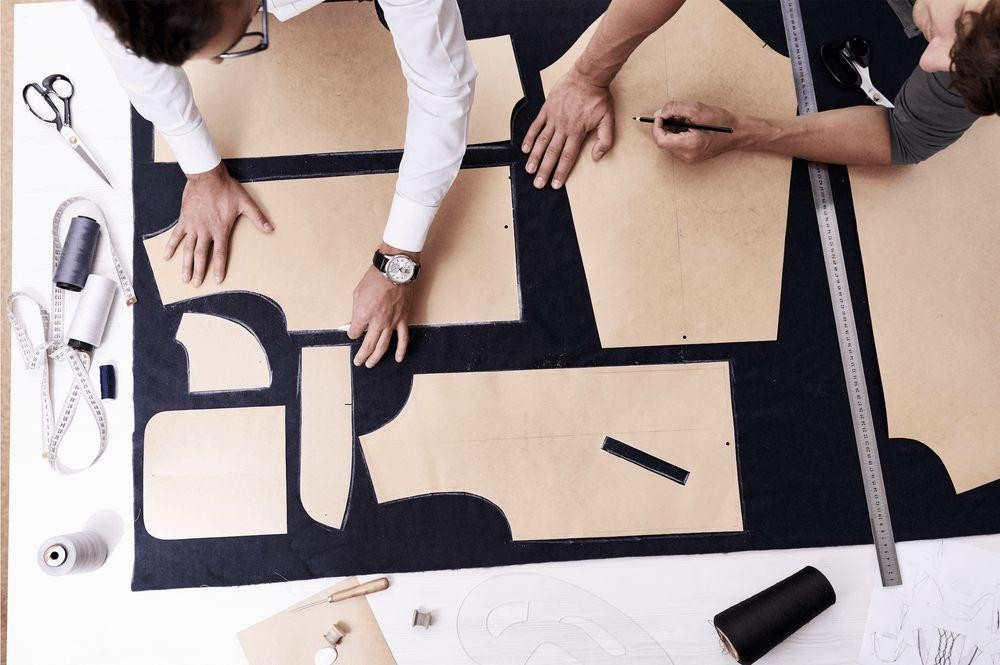
Marker Making
Its output is the marker, the full size layout the cutter follows, and its measure of success is efficiency, the share of fabric that becomes garment. Two things go in and one thing comes out.
The Inputs Are the Graded Patterns and the Cut Order and the Fabric
The marker maker needs the graded pattern pieces for every size, the size ratio of the order so the marker carries the right number of each, and the fabric’s usable width and behaviour: whether it has a direction, whether it shrinks, whether it has stripes that must match. Without all three the marker is a guess.
The Output Is a Layout and a Number
What comes out is the marker itself, printed on paper or sent to the cutter, and its efficiency percentage. A factory records both against the style, because the marker length is what turns into fabric consumption per garment and the efficiency is what the cutting room manager is judged on.
Marker Making Step by Step
Whether it is done on a table with card patterns or on a screen, the process runs in the same four steps.
Step 1: Confirm the Fabric Width and Allow for Shrinkage
Measure the actual roll, not the width on the invoice, and subtract the selvedges. If the fabric will be washed or steamed after cutting, add the shrinkage allowance to the pieces first. A marker built on the wrong width either wastes a strip down one side or does not fit the roll at all.
Step 2: Nest the Pieces as Tightly as the Rules Allow
Place the large pieces first, fronts and backs, then fit sleeves, yokes, collars and facings into the gaps. Pieces may be turned head to tail on a two way fabric and must all face the same way on a one way one. Mixing sizes fills gaps that a single size leaves empty, which is why mixed size markers are more efficient than single size ones.
Step 3: Check Grain and Direction and Matching
Every piece must sit with its grain line parallel to the selvedge, or the garment will twist after washing. Directional pieces must point the right way. Stripes and checks must be positioned so they match at the seams. Each check costs a little efficiency and saves a lot of rejects.
Step 4: Calculate the Efficiency and Plot the Marker
Divide the total area of the pieces by the area of the marker rectangle. If the result is below what the style should achieve, rearrange and try again. When it is right, plot it on paper or save it to the cutter, record the length, and the fabric consumption for the order is fixed.
Manual Versus Computerised Marker Making
Manual marker making means laying full size card patterns, or miniature ones on a scaled sheet, onto marker paper and tracing around them. It is slow, it depends entirely on the skill of the person, and it is still used in small units and for special fabrics where a human eye judges the print. Computerised marker making loads the graded patterns into CAD software, lets the operator or an automatic nesting routine arrange them, calculates efficiency instantly, and sends the result to a plotter or straight to an automatic cutter. Any factory cutting at volume works this way, because the software reaches efficiencies a hand marker rarely does and produces them in minutes rather than hours. The efficiency arithmetic itself is the same one used for the sewing line, and the worked method in the Online Clothing Study guide to calculating production line efficiency is the model every cutting room borrows.
The Constraints That Make Marker Making Hard
If fabric were a plain, stable, directionless sheet, a computer would solve marker making perfectly. Fabric is none of those things, and three constraints do most of the damage.
Grain Line Comes Before Efficiency
Turning a piece a few degrees off grain would often fill a gap, and it is never allowed on a woven fabric, because the garment will hang crooked. Grain is the rule that costs the most efficiency and is broken the least.
Stripes and Prints and Nap Fix the Direction
A striped shirt needs its stripes to run through the front, the pocket and the yoke without a jump, and a velvet jacket needs every piece brushed the same way. Both force a one way marker and both push efficiency down by five to ten points compared with a plain fabric.
Fabric Width Changes Between Rolls
Two rolls of the same fabric from the same mill can differ by two or three centimetres in width, and a marker made for the wider roll will not fit the narrower one. Good cutting rooms measure every roll and keep more than one marker per style.
Marker Making for Bags
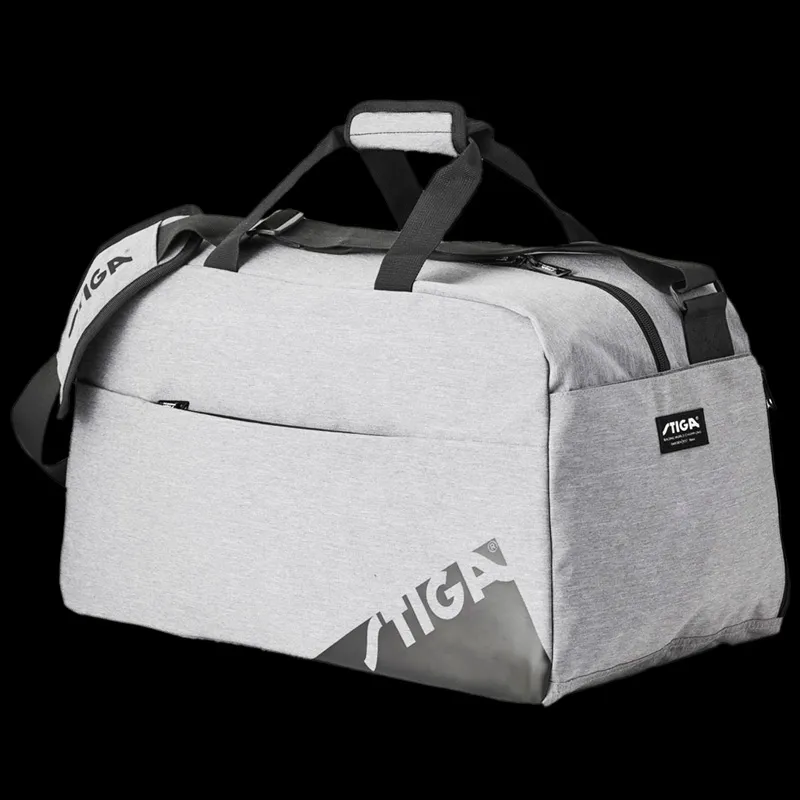
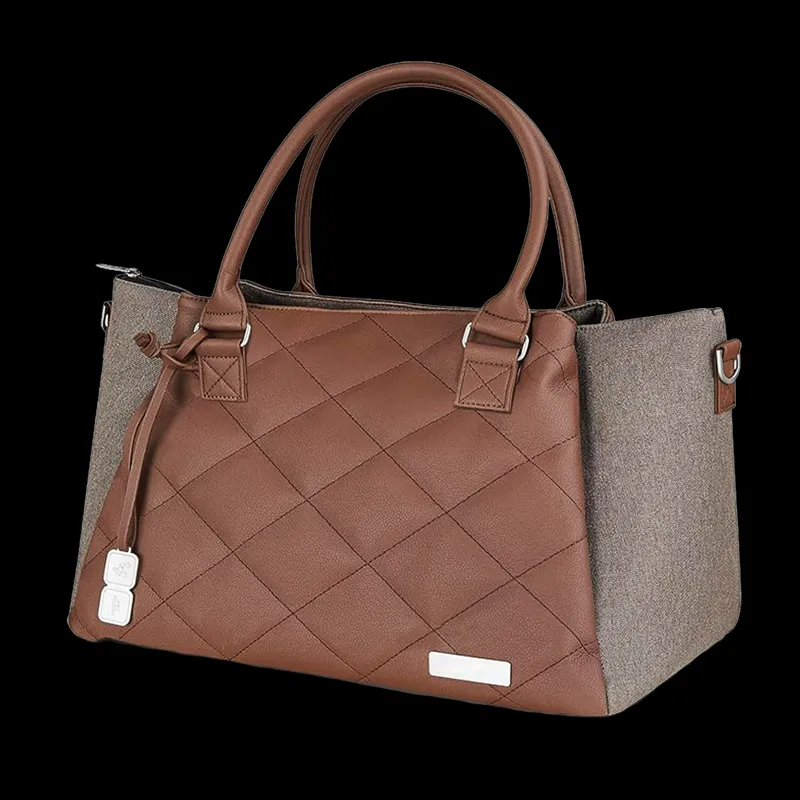
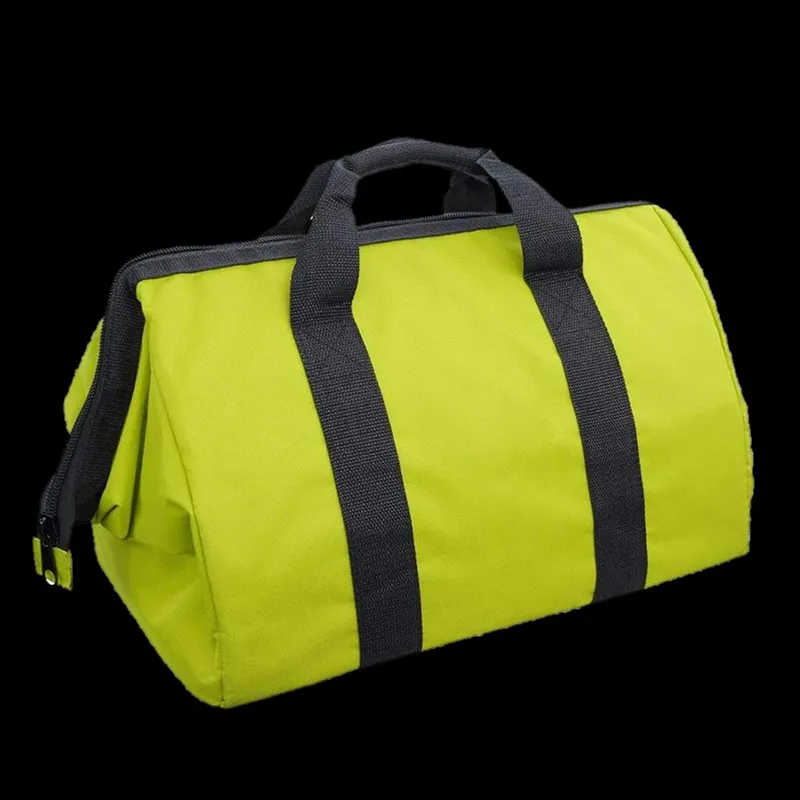
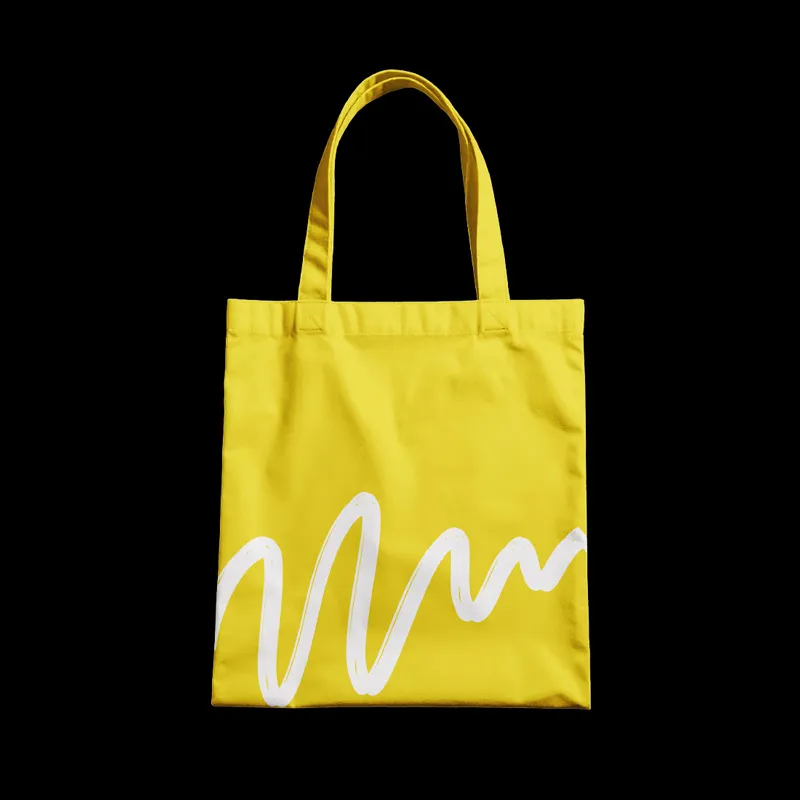
A bag is cut from several materials, so marker making happens several times per style: once for the outer fabric, once for the lining, once for the foam and often once for a coated base. Each has its own width and its own efficiency, and the total fabric consumption is the sum. That makes a bag factory’s cutting room planning heavier than a shirt factory’s, and it is where a well run factory finds savings that a brand never sees on a quote. The habits that raise line efficiency and the habits that raise marker efficiency come from the same place, a factory that measures rather than guesses, and finding where the fabric and the minutes go is the whole of how to improve garment business performance without buying anything.
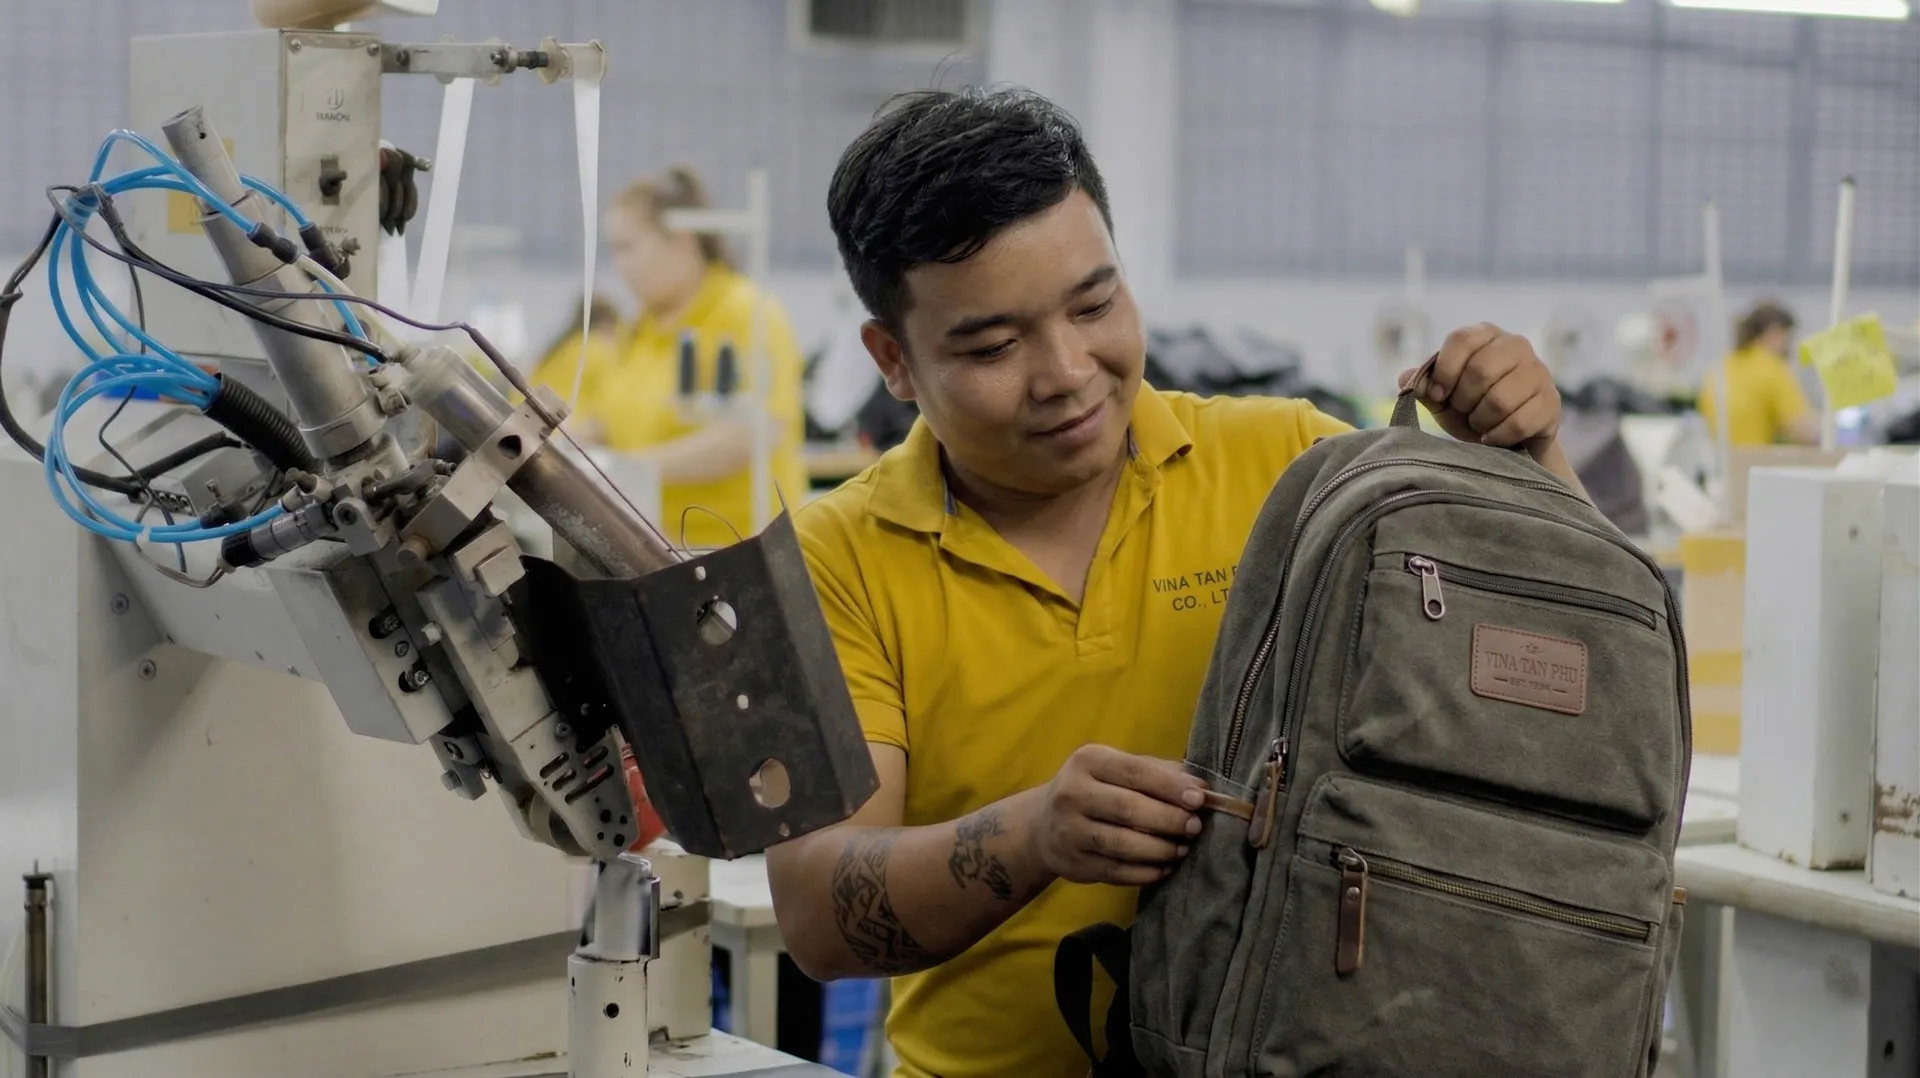
Bag Sample
For a brand the practical test is simple: ask a factory for the marker efficiency on your style. A factory that answers with a number has made the marker. One that answers with a shrug will quote fabric from a rule of thumb and correct it later, and the correction is always upward. The same question sorts a real OEM garment manufacturer from a workshop with sewing machines, whether the product is a shirt or a backpack.
Conclusion
What is marker making in garment industry terms? The process of arranging every graded pattern piece for every size in the order onto the fabric width so the least cloth is wasted, producing the marker the cutter follows and the efficiency number the cutting room is judged by. It runs in four steps: confirm the width and shrinkage, nest the pieces, check grain and direction and matching, then calculate efficiency and plot. Computers do it faster and tighter than hands, but grain, prints and roll width still set the limits. On a bag line it is done once per material, and a factory that can quote its marker efficiency is a factory that knows its costs.
Bola Bag has made markers for outer, lining and foam on backpacks, technical bags and totes in Ho Chi Minh City since 2015, as an OEM and ODM partner that quotes fabric from the marker rather than from a guess. See how we work on our capabilities page, or send us your tech pack and a size ratio and we will send back the marker efficiency with the quote.


BOLA BAG's BLOG YOU MAY ALSO BE INTERESTED IN
Wholesale Laptop Backpacks Manufacturer Assembly Lines Meet Strict Export Standards
Bulk Tote Bags with Zipper for OEM and Export Markets
Reliable Canvas Bag Manufacturers with Export Standard Production